HELP! MY HOUSE IS LOSING HEAT!
Feb 05, 2019
It can be tough to make it through the cold weather if your house is losing heat. Before cold season is upon you, think back to years past. Have you felt like your house is losing heat when the weather cools? Do your bills go up as the mercury goes down? While a home energy assessment can show you exactly where your house is losing heat, there are some DIY steps you can take now.
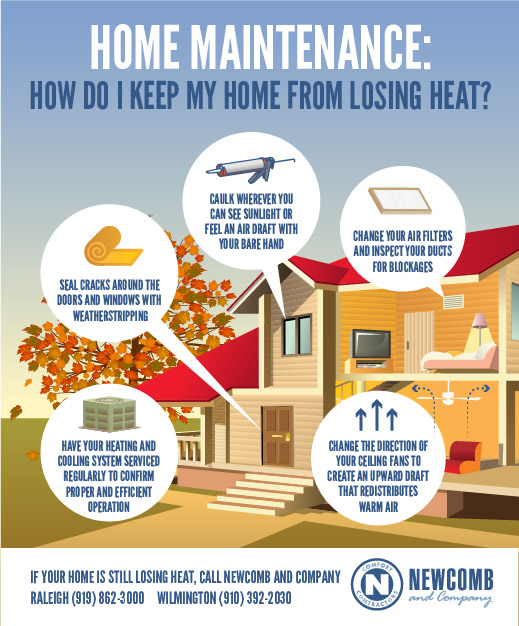
Step 1: Caulk
Your home may be your castle, but it’s not a fortress. Cracks and crannies let warm air seep out and cold air seep in. The solution? Caulk.
Caulk is a filler used to seal two adjoining materials together. It’s powerful, inexpensive, and easy to DIY. In most situations, 100% silicone caulk will be your best choice. It’s permanently waterproof, it’s flexible, and it doesn’t shrink or crack. Head to the hardware store, grab some caulk (and a caulk gun — trust us on this), and get to work.
Where should you caulk? Anywhere you feel that your house is losing heat. If you can see sunlight or feel a draft, caulk! Caulk between masonry and siding, at the ingress of pipes or wires to the house, and around window and door frames. (While you’re at it, you might even get around to that tub-sealing project!)
One more benefit to caulking external cracks in your home: it will prevent further cracking. In the fall and winter, water can get into small spaces and freeze there, creating more damage. So caulk is a solution to both current and future weatherproofing problems.
Step 2: Weatherstrip
Save more than 20% on your heating and energy bills by sealing air leaks. If you’ve got a movable surface, you can use weatherstripping rather than caulk to prevent warm air from leaking out.
There are many different kinds of weatherstripping, and your choice will depend on the crevice you’re trying to close. If you can see daylight under your front door, install a door sweep. If the door jambs just aren’t flush, try felt. Secure window sashes with foam tape. Be mindful as the weather cools, and weatherstrip any point of entry where you feel a draft.
The difference between caulk and weatherstripping is that caulk seals two immovable areas, like where the siding meets the chimney. Weatherstripping is good for sealing something that you still need to be able to move, like a door or window.
Step 3: Set Fans Clockwise
There’s a switch on the base of your ceiling fan that changes its direction. In the winter, your ceiling fan should turn clockwise, at the lowest speed. That pulls the cooler air up towards the ceiling, so the warm air is displaced and circulates around the room. You’ll feel a little more cozy, which will keep you away from that thermostat. Maintaining proper thermostat temperature settings all season long will prevent overuse of your system — and overbilling of your bank account.
Step 4: Clean the HVAC
This home maintenance staple is important all year long, but many people don’t get to it until spring cleaning – if at all. If you have forced-air heat, then you rely on your HVAC system to keep your home toasty. A dirty system works harder, so it’s less efficient and more expensive.
If you haven’t thoroughly cleaned your HVAC system recently, make it a priority. You can clean the entire system, not just its machinery. Start by changing your air filters and checking for blocked ducts.
There are some parts of your HVAC system that you won’t be able to clean without specialized tools and knowledge. For the most thorough cleaning, contact Newcomb and Company to schedule a service call or to discuss a maintenance agreement. It’s an inexpensive way to save yourself a bundle in the long run.
Need help? Call now.